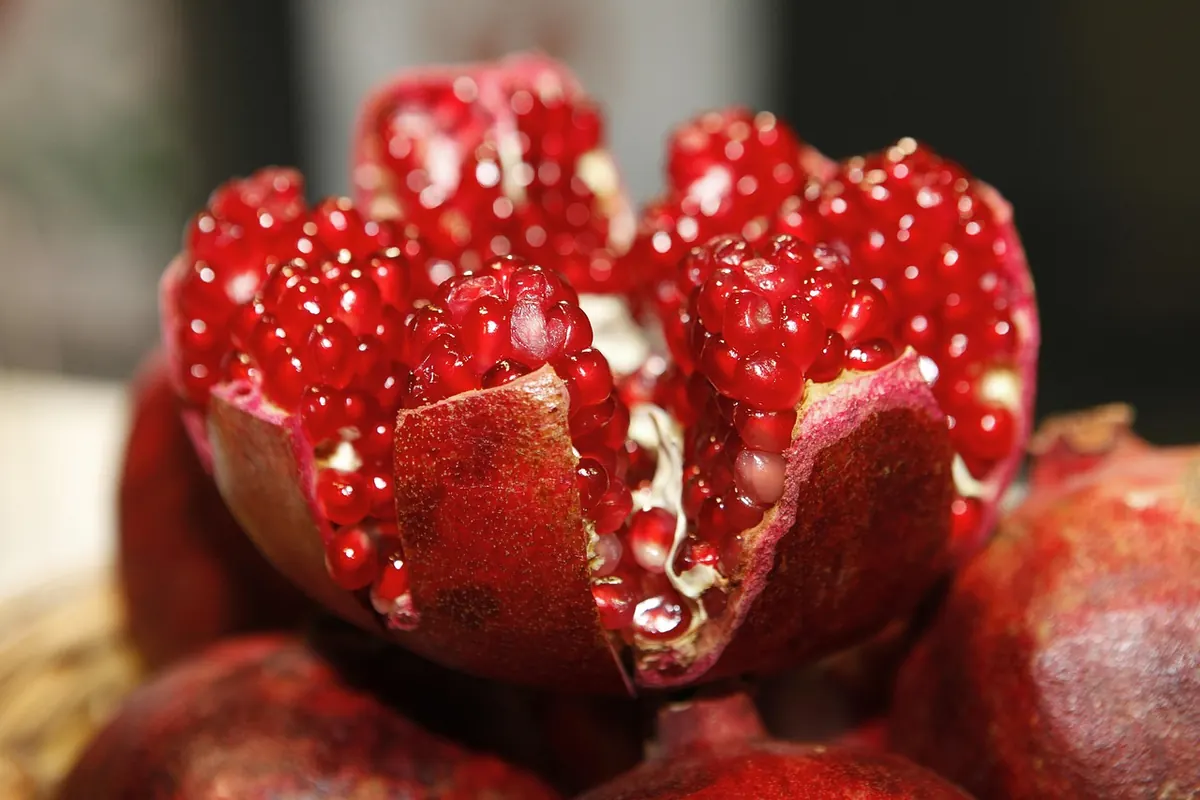
Of all the fruit trees a home grower can multiply for almost nothing, the pomegranate is one of the most obliging. Take a length of last year's growth, cut it cleanly, push it into a pot of free-draining mix, and within a couple of months you will have a small plant with roots of its own.
The appeal is not only the cost. Seed-raised pomegranates vary: the fruit may come smaller, later, tarter or paler than the parent's. A cutting is a clone, a straight copy of the tree you liked, with the same fruit and the same flowering habit. If you already grow a good variety, or a neighbour has one you admire, cuttings are how you get more of it.
Why cuttings are the reliable route
Pomegranates have a reputation for being fiddly to propagate. In practice, the opposite is usually true. Given warm soil, sharp drainage and a little patience, hardwood cuttings strike readily, and a single good branch can give you half a dozen new plants. What they will not forgive is a cold, soggy pot.
Cuttings also let you decide what you are growing. Perhaps you want a soft-seeded variety for eating fresh, a tart one for juice, or something compact for a terrace. For that, you need a clone. Seedlings are a lottery, and a slow one: they tend to need several more years before they settle into flowering, and you will not know what the fruit is like until it happens. A cutting is already mature wood, and it carries that head start with it.
Selecting the right wood
The cutting is the foundation; everything afterwards is damage control. Look for shoots made in the last growing season, now hardened off. They should be about the thickness of a pencil, roughly 6–10 mm across, with firm grey-brown bark rather than green, sappy growth. Thin, whippy stems shrivel before they root; very old, thick branches root slowly and often rot first.
Take your wood from the outside of a healthy tree, in full sun. Avoid the soft water shoots that erupt from the base or from low on the trunk — they hold too much water and are the first to go mushy in the mix. Skip anything showing scale insects, cankers, cracks or galls. A clean cutting is worth more than three dubious ones.
Cut each piece 20–30 cm long with at least three or four nodes. Make the base cut straight, just below a node, and the top cut on a slant above a node.
An upside-down cutting will almost always fail. A flat base and a slanted top remove all doubt about which way up it goes.
Use clean, sharp secateurs, strip any side shoots and thorns from the lower half, and keep the cuttings wrapped in damp newspaper or a cloth while you work. They should not dry out, and they should not sit in a bucket of water either. Plant them the same day if you can, or within two or three days. Take roughly twice as many as you need.
When to take and plant cuttings
Timing matters more than most guides admit. The classic window is late winter into early spring, while the wood is still dormant and the buds are swelling but not yet open. In cold climates, do this indoors or in a heated propagator; the cuttings need warmth below far more than light above. In mild regions, late autumn and winter work well too, either in a cold frame or straight into prepared ground, provided the soil is not frozen and hard frosts are not imminent.
Summer cuttings of semi-hardwood, with a few leaves left on, are possible but demand misting, shade and constant attention. Leave that method for when you have a season or two behind you. Leafless hardwood cuttings lose almost no water and forgive far more neglect.
Preparing the cutting and the rooting mix
Drainage is the whole game. Pomegranates dislike standing water at the roots, and a cutting has no roots to spare.
The mix
Use roughly half peat-free potting compost and half perlite, or a mix of coarse sand and compost. Garden soil straight from the bed is too heavy and holds too much moisture in a pot. Choose deep pots — 15–20 cm tall — with generous drainage holes, so the buried length has somewhere to go.
- Fill the pot with the mix and firm it lightly, leaving a couple of centimetres of rim.
- Recut the base of the cutting just below a node to expose fresh tissue.
- Dip the base in rooting hormone if you have it. Pomegranates root well without, so treat it as insurance rather than a requirement.
- Make a hole with a dibber or a pencil and insert the cutting the right way up, burying roughly two-thirds of its length so that at least two nodes sit below the surface.
- Firm the mix around the stem, water gently until it settles, and label the pot with the variety and the date.
- Cover with a clear plastic bag or a propagator lid, leaving a small gap for air.
Rooting conditions and the waiting game
Keep the pots somewhere warm: around 20–25 °C is comfortable, and gentle bottom heat speeds things up considerably in a cool room. Bright but indirect light suits them until growth appears. Direct summer sun through plastic will cook a covered pot in an afternoon.
The most common mistake is overwatering. The mix should be damp, never wet, and it should dry slightly between waterings. Lift the cover for a few minutes every couple of days to let stale air out and to check for mould.
Calloused bases usually appear within three or four weeks, and roots follow in six to ten weeks, sometimes longer in a cold spring. Resist the urge to pull a cutting up to look. A gentle tug that meets resistance is enough confirmation, and new top growth is the clearest sign that something is happening below. Do not feed at this stage; the cutting has no need for it and the salts can burn tender new roots.
Potting on and the first growing season
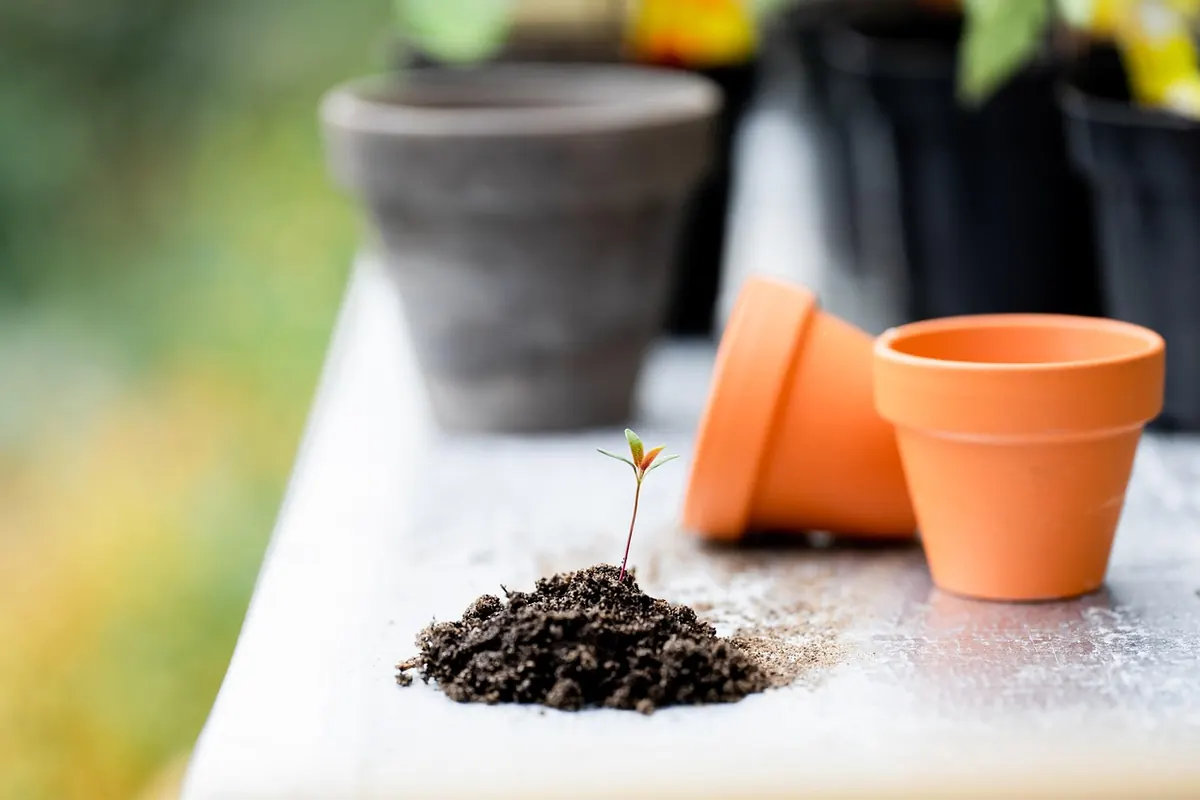
Once roots show at the drainage holes and the plant has a few sets of leaves, move it into a larger pot with the same free-draining mix. Harden it off gradually if it is heading outdoors, a few hours more each day over a week or so.
Give young plants full sun and water deeply but less often, letting the top centimetre or two of compost dry in between. Pomegranates are drought-tolerant once established, but a young plant in a pot is not, and stressed plants sulk rather than grow. A light liquid feed once a month through the growing season is plenty.
Pinch out the growing tips to encourage a bushy, well-branched shape, and rub out any suckers that appear from below the soil line. Protect the first winter: a greenhouse, a sheltered wall or a wrap of fleece is worth the trouble, because young plants are far more tender than established ones. You may see the first flowers within two or three years; if a very small plant tries to carry fruit early, remove the flowers and let it build strength.
A short checklist for a strong start
- Take pencil-thick, one-year-old wood from a healthy, sun-exposed branch.
- Cut the base flat, the top slanted, and keep the cuttings damp until planting.
- Plant in late winter or early spring, two-thirds buried, in a free-draining mix.
- Keep warm, keep covered, and water sparingly.
- Pot on when roots show, harden off slowly, and guard the first winter from frost.
Start with more cuttings than you need, and expect a few losses; that is normal, and it costs you nothing but a little bench space. Within a season you will have plants identical to the tree you started with, ready to fruit in a spot you choose rather than one the seed decided for you.